Healthy Chicken Fingers Recipe
If you’re searching for a delicious, kid-friendly meal that’s also nutritious, then this Healthy Chicken Fingers Recipe is just what you need! Say goodbye to greasy, deep-fried chicken fingers packed with unhealthy fats and artificial additives. Instead, enjoy a wholesome, flavorful homemade version that everyone will love. This article will guide you through the ingredients, equipment, and step-by-step instructions to make the perfect healthy chicken fingers at home, plus share expert tips, nutrition facts, and answers to the most common questions trending in the USA.
Whether you’re packing lunches for kids, prepping a quick weeknight dinner, or looking for tasty finger foods for parties, these chicken fingers are a winning choice. The recipe is designed to be easy to follow, packed with nutritious ingredients, and versatile enough to tweak for your family’s preferences. Ready to dive in? Let’s get started with the ingredients and all you need to whip up this delicious dish!
Ingredients
- 1 lb (450g) boneless, skinless chicken breasts or tenders
- 1 cup whole wheat breadcrumbs (can be gluten-free if preferred)
- 1/2 cup grated Parmesan cheese
- 1 teaspoon garlic powder
- 1 teaspoon smoked paprika
- 1 teaspoon dried oregano
- 1/2 teaspoon salt
- 1/2 teaspoon ground black pepper
- 2 large eggs
- 2 tablespoons olive oil or avocado oil (for brushing)
- Optional: fresh parsley for garnish
Required Equipment
Before you begin, make sure you have the following tools and equipment ready. Having these items on hand will ensure your cooking process is smooth and fun:
- Baking sheet
- Wire rack (to place on top of the baking sheet)
- Mixing bowls (2 – one for eggs and one for breadcrumbs)
- Whisk or fork (to beat the eggs)
- Measuring cups and spoons
- Sharp knife and cutting board
- Tongs or chopsticks (for coating chicken pieces)
- Food processor or grinder (optional, if you want to make your own breadcrumbs)
Step-by-Step Instructions
Step 1: Prepare the Chicken
Start by trimming any fat from the chicken breasts. Cut each breast into evenly-sized strips or fingers, about 1-inch wide. Try to keep the pieces uniform so they cook evenly.
Step 2: Make the Breading Mixture
In a shallow bowl, combine the whole wheat breadcrumbs, grated Parmesan cheese, garlic powder, smoked paprika, dried oregano, salt, and ground black pepper. Mix thoroughly to ensure the spices are well distributed.
Step 3: Beat the Eggs
In another bowl, crack the eggs and whisk them until fully combined. This egg wash will help the breadcrumb mixture adhere to the chicken.
Step 4: Coat the Chicken Fingers
Dip each piece of chicken into the egg wash, letting any excess drip off. Then press the chicken into the breadcrumb mixture, ensuring every side is well coated. Repeat this process for all chicken strips. Placing the coated fingers on a plate or tray as you go will keep things organized.
Step 5: Prepare for Baking
Preheat your oven to 400°F (200°C). Line a baking sheet with aluminum foil or parchment paper for easy cleanup, then place a wire rack on top. Arrange the breaded chicken fingers in a single layer on the rack. Using a wire rack helps the chicken cook evenly and stay crispy all around.
Step 6: Add Oil for Crispiness
Lightly brush the chicken fingers with olive or avocado oil. This step is key to achieving a golden, crispy coating without deep frying.
Step 7: Bake to Perfection
Bake the chicken fingers in the preheated oven for 15-20 minutes. Halfway through cooking (about 10 minutes), flip them over and brush lightly with oil again. The chicken should be cooked through, juicy inside, and crisp outside.
Step 8: Serve and Enjoy
Once done, let the chicken fingers cool for a few minutes. Garnish with fresh parsley if desired and serve with kid-friendly dips like honey mustard, ketchup, or yogurt-based ranch sauce. They’re perfect alongside crunchy veggie sticks or a fresh salad.
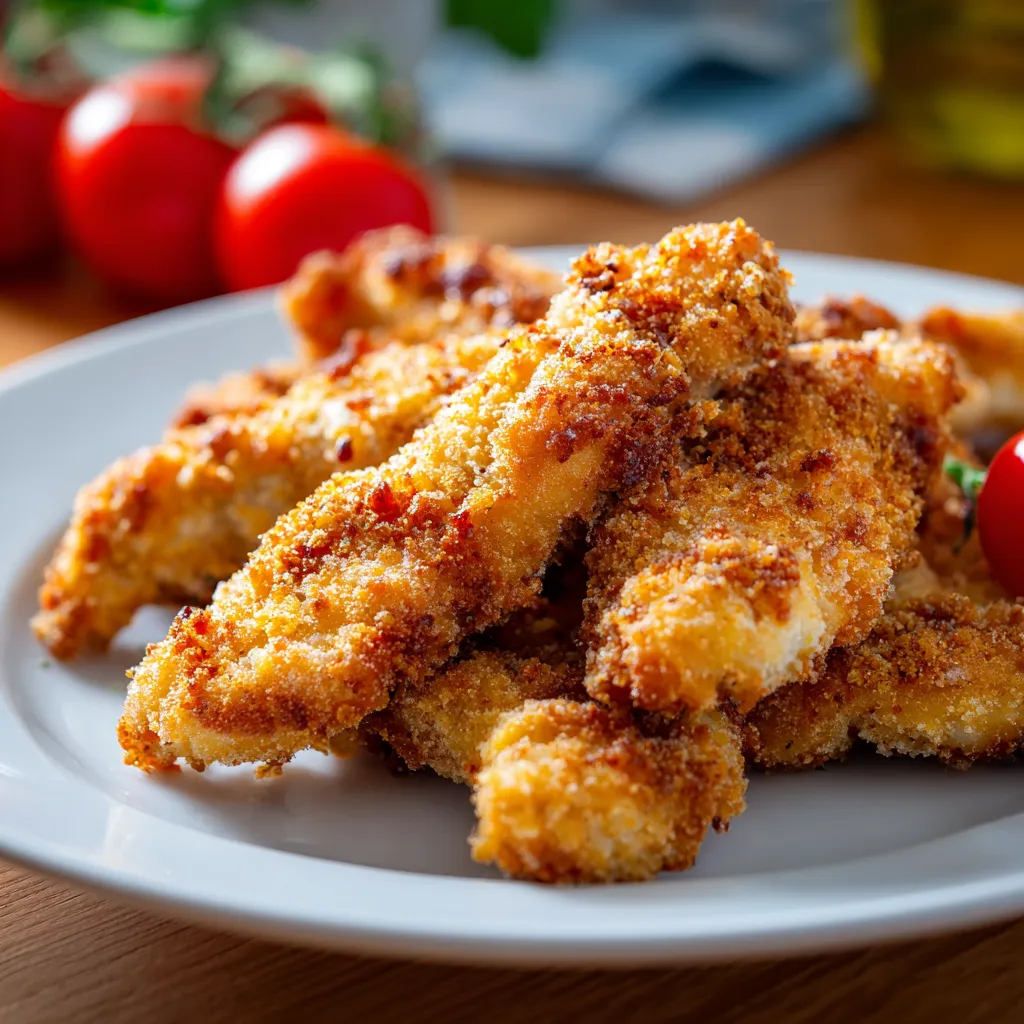
Recipe Card
- Prep Time: 10 minutes
- Cook Time: 20 minutes
- Total Time: 30 minutes
- Category: Kid-friendly, Main Course, Snack
- Method: Baking
- Cuisine: American
Nutrition Card
- Calories: Approximately 250 per serving (4 fingers)
- Sugar: 1g
- Fat: 7g
- Carbohydrates: 20g
- Fiber: 3g
- Protein: 30g
- Yields: 4 servings
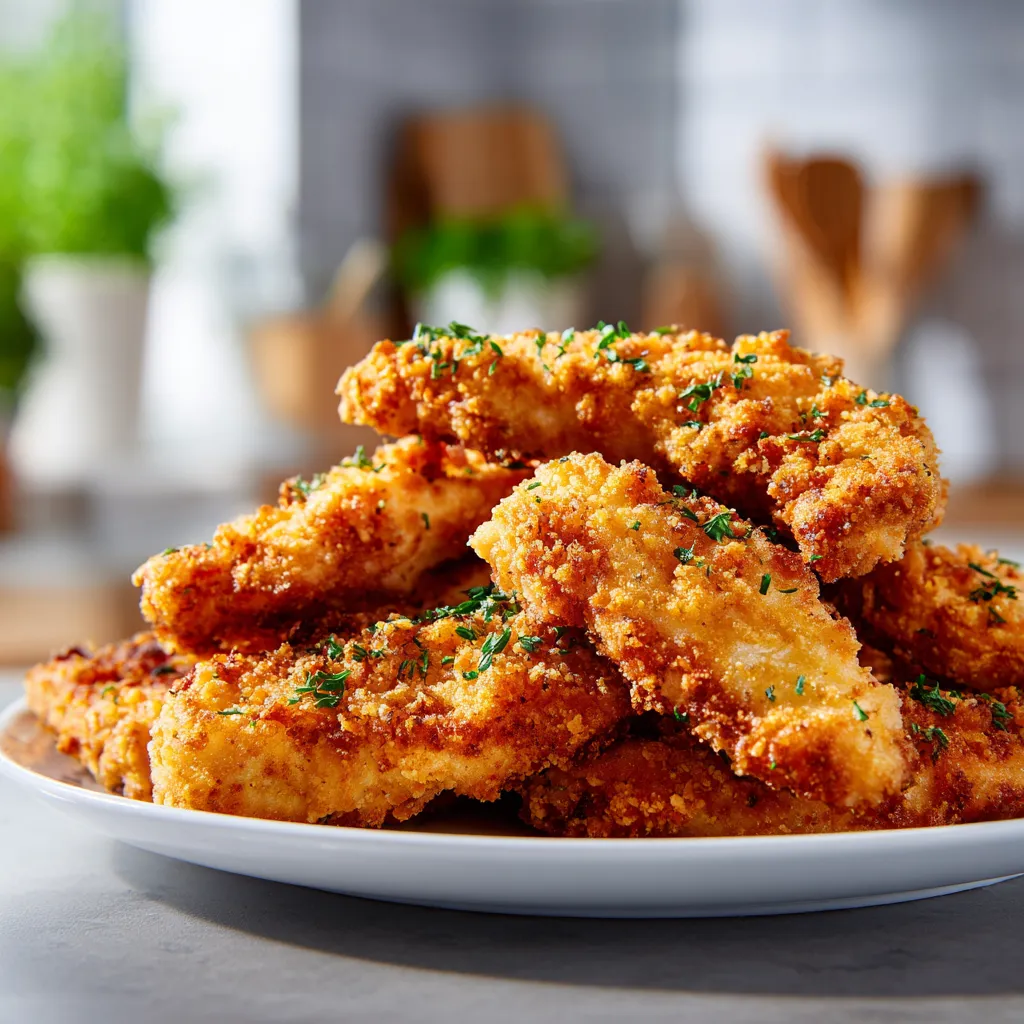
Top 5 FAQs Trending Now in USA About This Recipe
1. Are healthy chicken fingers baked or fried?
Healthy chicken fingers, like the ones in this recipe, are typically baked instead of deep-fried. Baking significantly reduces the amount of oil and fat, making the dish lighter and healthier while still maintaining a crispy texture.
2. Can I substitute chicken breasts with chicken tenders?
Yes, chicken tenders are an excellent choice for making chicken fingers. They are naturally tender and cook quickly. Either cut chicken breasts into strips or use tenders directly for convenience.
3. How do I make chicken fingers gluten-free?
To make this recipe gluten-free, you can swap out the whole wheat breadcrumbs for gluten-free breadcrumbs or crushed gluten-free crackers. Ensure all other ingredients, like spices, are gluten-free too.
4. What dipping sauces go well with healthy chicken fingers?
Popular dipping sauces for chicken fingers include honey mustard, BBQ sauce, ranch dressing, ketchup, and yogurt-based dips. For a healthier twist, try making homemade dips with Greek yogurt and fresh herbs.
5. Can chicken fingers be frozen for later use?
Absolutely! Arrange the breaded chicken fingers in a single layer on a baking sheet and freeze until solid. Then transfer to a freezer-safe container or bag. You can bake them straight from frozen, just add extra cooking time.
I’m so glad you’re here. If you enjoyed this recipe or found it helpful, feel free to share it with your friends and family great food is meant to be shared! Don’t forget to follow me on Facebook and Pinterest for more delicious recipes, kitchen tips, and daily cooking inspiration, Your support means the world to me, and I look forward to bringing you even more tasty ideas straight from my kitchen.